Click Here to download the PDF file (1.64 MB).
First we need to have the Virtual PC software installed on the PC.
First we need to have the Virtual PC software installed on the PC.
Once the Virtual PC software is installed, run it. Then the following window appears.
Click Next. In the next window, select ‘Create a Virtual machine’ option and press Next.
Then in the next window, it prompts to enter the name of the Virtual machine that you are going to create. Since I am going to install Fedora 12, I’ll give the name as ‘fedora 12’.
Then you need to give the location where you want to create the virtual machine. Press the button ‘Browse’ and select the location. Then press Next. Here I’m creating it in the folder ‘fedora 12’ in my D: drive.
In the next window, you need to select the operating system that you are going to install. Since Fedora 12 is not appearing in the list, I will select ‘Other’. Then press Next.
In the next window, you need to allocate memory for the Operating System. Depending on your RAM you can set the memory. Here I am allocating 436MB since I have 2GB RAM in my PC. Then press the button Next.
(Even with 256MB it worked perfectly on Virtual PC. If you are using VMWare Work Station instead of Virtual PC, you may need to allocate atleast 350MB to support the graphics properly)
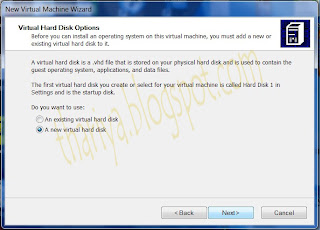
In the next window it shows the virtual hard disk options. Since I do not have a virtual hard disk file yet, I’ll select the option ‘A new virtual hard disk’. Then press Next.
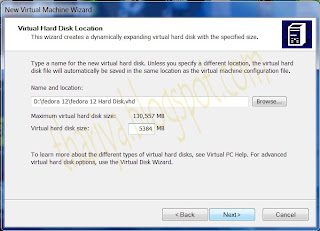
In the next window, you need to give the location to create the virtual hard disk. I give the location as the ‘fedora 12’ folder in my D: drive where I created the virtual machine previously.
Then you need to give the capacity of the virtual hard disk that you want to create. Since 5GB is enough for me, I have given the capacity as 5384MB for the virtual hard disk.
Then press Next.
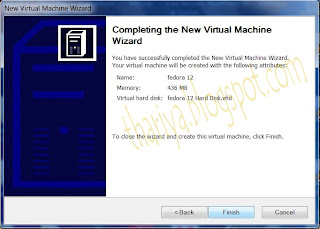
Now you have successfully created the new virtual machine. In the next window, press Finish.
Then the following window will appear. If not, run the Virtual PC and it will appear. It shows the fedora 12 virtual machine and it is still not running.
By pressing the button ‘Settings’ you can change the settings of the virtual machine.
For example, you can change the memory you allocated for the virtual machine.
Now we need to install the operating system on this virtual machine. If you have the setup in a CD or DVD, insert it to the drive and Start the virtual machine.
I have the .iso file of fedora 12 and I am going to do the installation using that.
I use ‘Power ISO’ software to mount the .iso file to a virtual CD/DVD drive. You can also use DAEMON Tools software to do that. After mounting the image, start the virtual machine.
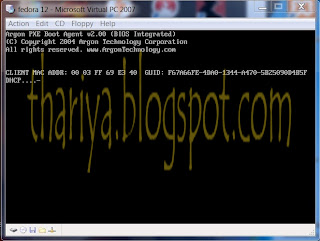
Then the following window appears.
In the menu bar, go to CD and under that select the particular Physical Drive you mounted the image.
Without mounting the image file, you can also go to CD in the menu and click on ‘Capture ISO Image’ , browse and select the .iso file.
Then click on ‘Action’ in the menu bar and select ‘Ctrl + Alt + Del’ option. Then the virtual machine will restart and will boot from the .iso file.
Then you get the following window. Select ‘Install system with basic video driver’ and press Enter.
In the next window select the ‘OK’ option.
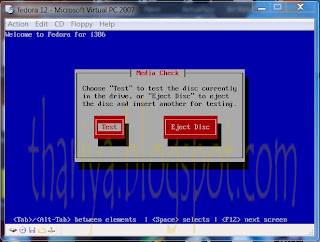
Then in the next window, select ‘Test’ option.
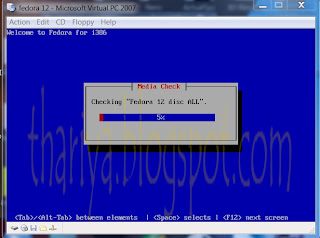
Here is a capture of the Media Checking.
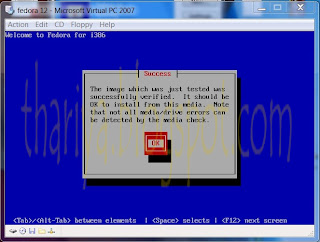
In the next window it says that the image is successfully verified. Press ‘OK’.
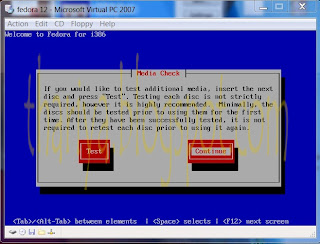
Then press ‘Continue’ button in the next window.
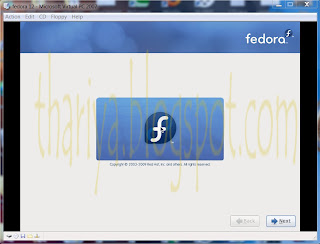
Then you get the following window. Press ‘Next’.
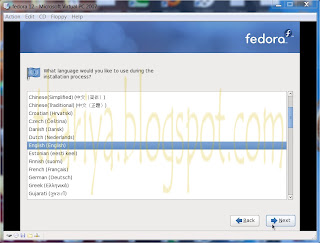
Select the Language. I select English and press ‘Next’.
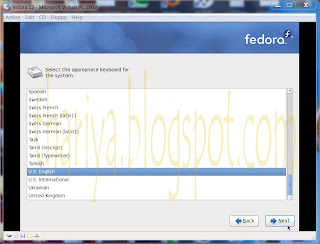
Then for the appropriate keyboard for the system, I select U.S English.
Then it may show the following warning. Press the button ‘Re-initialize drive’ and select ‘Next’.
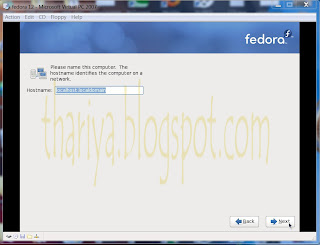
For the Host name, by default it appears as localhost.localdomain . I leave it as it is and press ‘Next’.
Then select the nearest city in your time zone and press ‘Next’.
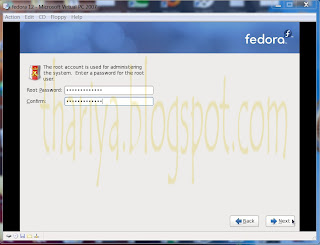
In the next window, you need to enter the Root password and the confirmation password. Then press ‘Next’.
In the next window just press ‘Next’.
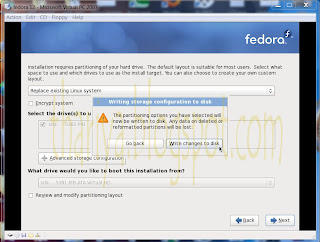
Then a message box will appear and click on the button ‘Write changes to disk’ and select ‘Next’.
In the next window, we need to choose the options we need to install. I select all three options available there and press ‘Next’.
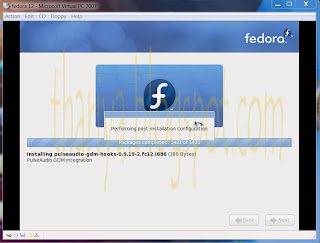
Then the installation process starts.
Once all the packages are installed, you get the following window. Click on ‘Reboot’.
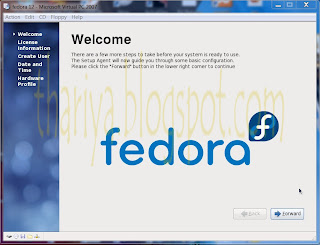
Now you see fedora is starting.
In the next two windows, press the button ‘Forward’.
Then create your user account.
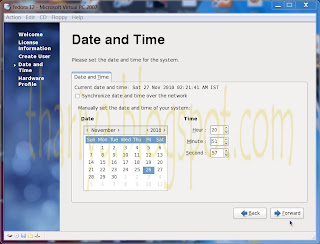
Set the date and time.
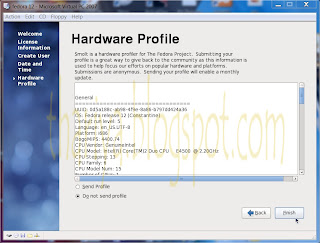
Select ‘Do not send profile’ and click ‘Finish’.
It will show you a message box and click on ‘No, do not send’.
Now you can log in to your user account by typing the password.
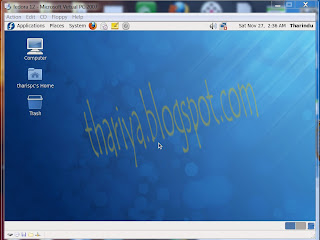
Now you have successfully installed Fedora on your virtual machine.
Whenever you want to go to the main operating system of your PC, just press the right Alt button of the key board. Then the mouse pointer will come out from the virtual machine.
If you want to maximize your virtual machine’s desktop, press Alt + Ctrl + Enter. Again to restore down, press the same.
Here you see a snapshot of my desktop. I use windows 7 as my main operating system. On virtual PC I have installed fedora 12 and windows XP.
-Tharindu Edirisinghe-
-SLIIT 10'-


















0 comments:
Post a Comment